Is your Charlestown rowhouse long on character but short on space and light? You are not alone. These historic homes shine when you stage them to feel bright, open, and functional while honoring the period details buyers love. In this guide, you will learn how to light narrow layouts, highlight original features, make the most of small outdoor spaces, plan your listing photos, and follow a simple 1–3 month staging checklist. Let’s dive in.
Why Charlestown staging is unique
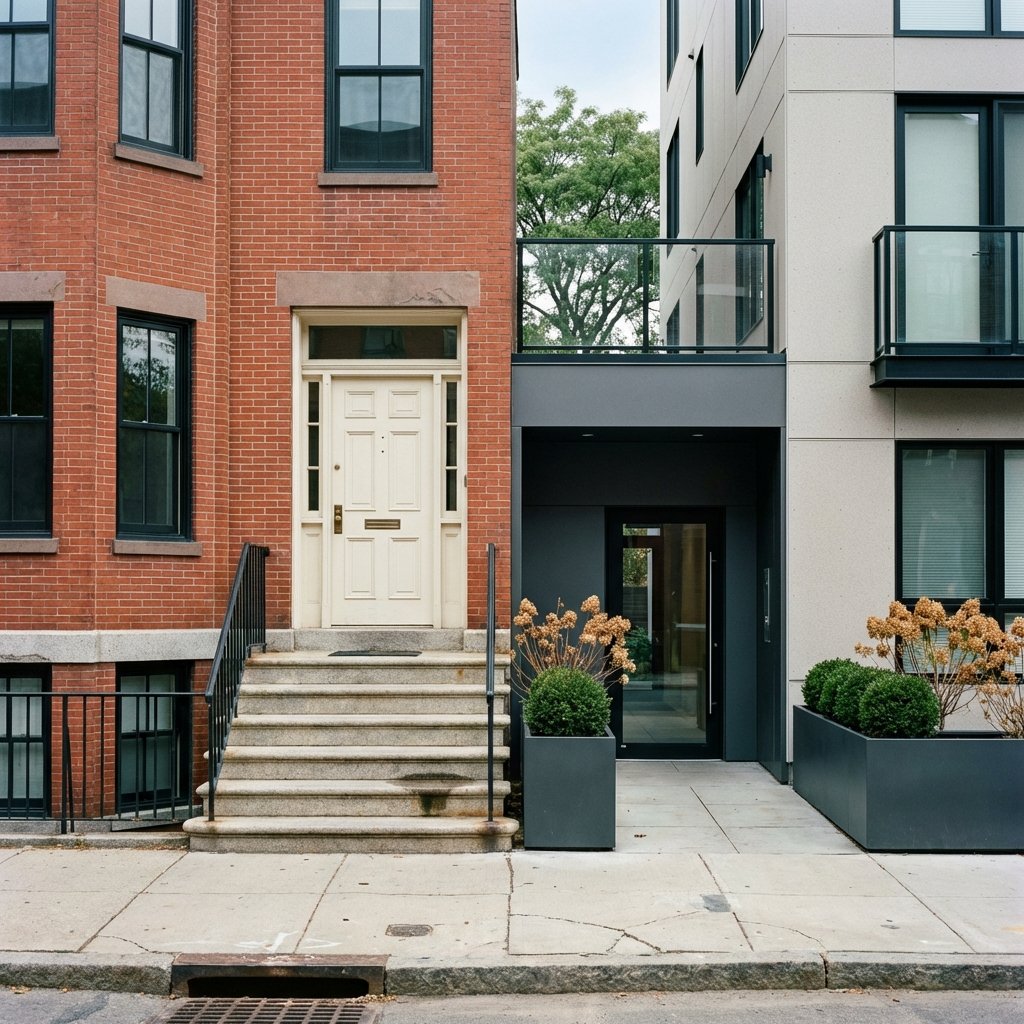
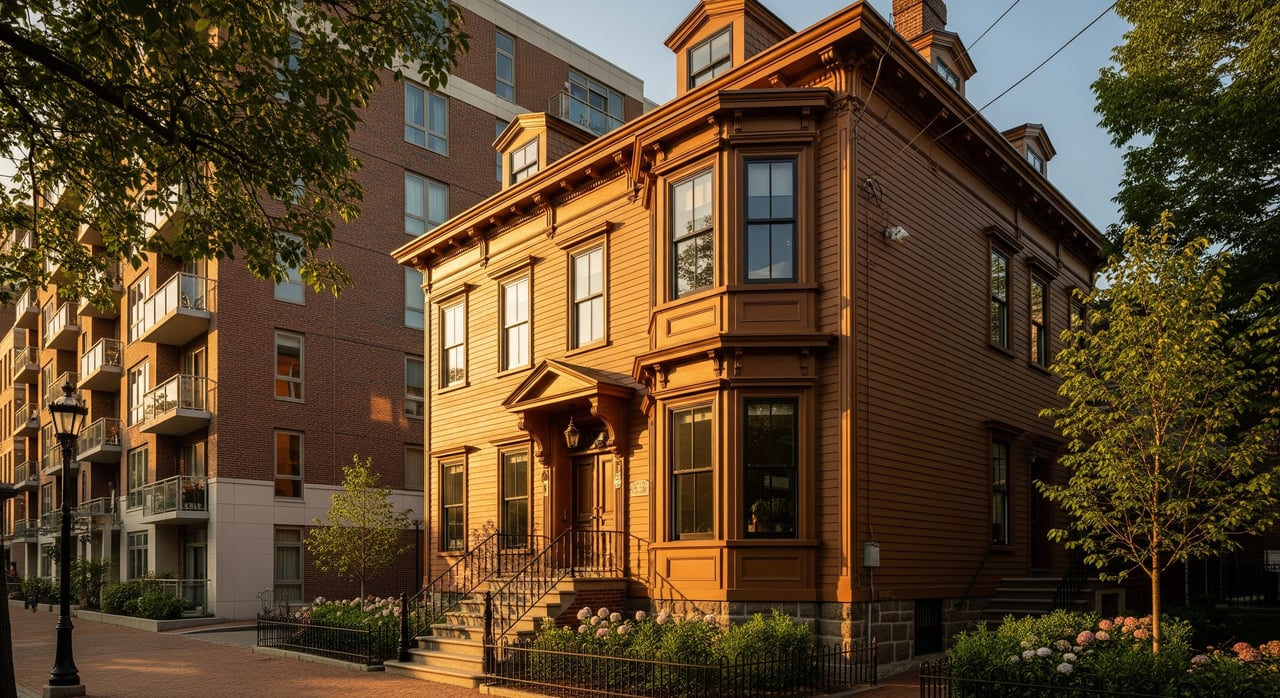
Charlestown is filled with 19th-century brick rowhouses on narrow, deep lots with multiple stories, tall windows, and beautiful trim, mantels, and brickwork. Floor plans often run front to back with stacked living spaces and compact kitchens and baths. Buyers here value authentic character, modern convenience, and any usable outdoor space.
Staging should balance historic charm with clear, contemporary function. For local context on Charlestown’s housing fabric, explore the City of Boston’s neighborhood overview of Charlestown and the Boston Planning & Development Agency’s Charlestown profile.
Light narrow, deep layouts
Let daylight travel
- Use single-layer translucent sheers instead of heavy drapes so daylight reaches deeper rooms.
- Keep furniture low near windows and avoid tall pieces that block light or views.
- Clear stair landings and hallways so light can move between floors.
Layer artificial light
- Build three layers: ambient ceiling light, task lighting like undercabinet strips, and accent lighting with sconces or picture lights. This adds depth and avoids flat, dull rooms.
- Choose warm but bright LEDs. Aim for 2700–3000K in living areas and 3000–3500K in kitchens, with CRI 90 or higher.
- Add slim floor lamps in corners and plug-in sconces where wiring is tricky. Rechargeable puck lights help closets and dark stairs.
- If you hardwire fixtures, use a licensed electrician and follow local codes. For efficiency and rebates on lighting upgrades, check MassSave’s lighting guidance.
Use reflection and paint
- Light, low-sheen wall and ceiling colors increase light bounce.
- Add a few well-scaled mirrors where they reflect windows or fixtures. Keep frames in a style that respects the home’s age.
Spotlight period details
Clean and repair, not overdo
- Professionally clean woodwork and touch up paint on moldings and built-ins. Repoint visible exterior brick if needed for safety and appearance.
- Keep authentic finishes where possible. Remove damage, not patina.
Create contrast and simple vignettes
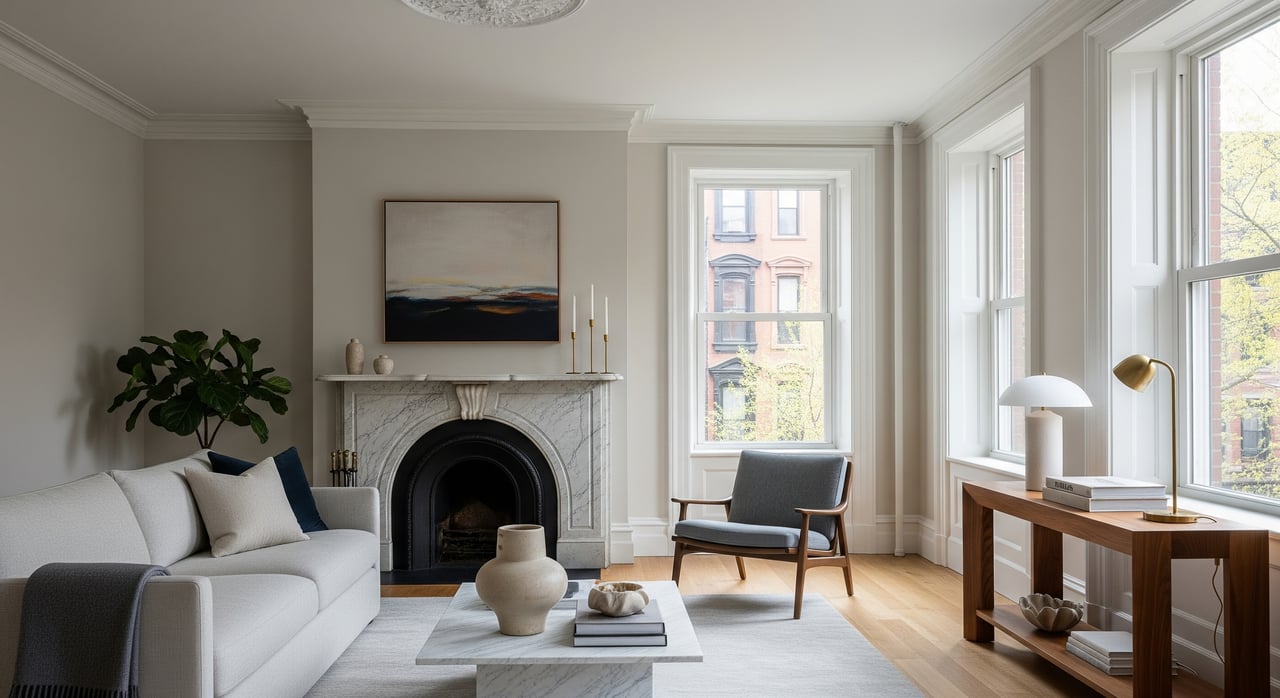
- Use soft, neutral wall colors with slightly brighter white trim to outline period millwork.
- Stage mantels and alcoves lightly. One mirror or art piece, a couple of books, and a single decorative object is enough.
- If you have interior brick, clean and reseal dusty areas. Let the brick be the star by keeping nearby furniture minimal.
- If your fireplace is safe and permitted for use, light it during showings. Otherwise, stage a clean hearth with neat logs.
Provide documentation
- Prepare a one-page feature sheet that lists year built, notable original elements, and recent sympathetic updates. Historic-home buyers appreciate this context. For preservation context and care, browse resources from Historic New England.
Make small outdoor spaces work
Scale and zones
- Choose compact, multi-use pieces like a folding bistro set, a bench with hidden storage, and slim planters around the perimeter.
- Define a small dining spot and a lounge perch so buyers can picture daily use.
Privacy and greenery
- Use trellises or stacked planters to add height without using floor space.
- Light privacy screens or bamboo slats help, but avoid blocking light to neighboring homes.
Seasonal touches
- In cooler months, stage evergreens in planters and add simple string lights.
- Set a tray with a mug and a small plant or herb kit to suggest easy outdoor living.
Furniture, flow, and storage
- Pick narrow-depth sofas, leggy chairs, and open shelving to keep sightlines clear.
- Use slight angles only if they widen the feel of a room. Avoid layouts that create dead corners.
- Declutter and depersonalize. Clear kitchen counters and use neutral baskets for everyday items.
- Stage closets to show capacity. Hang a few items neatly and leave shelf space visible.
Winning listing photos
Photo sequence that tells a story
Use a consistent order so buyers understand the layout:
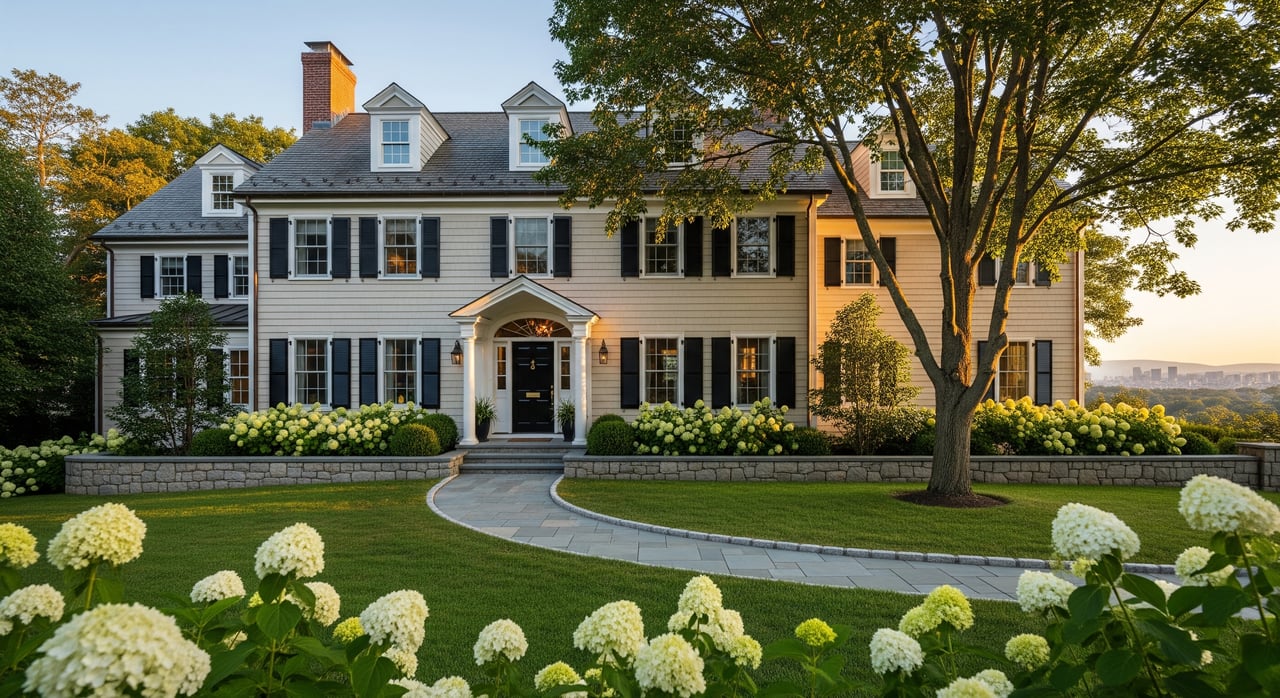
- Exterior front hero shot
- Entry or foyer
- Main living room
- Kitchen
- Dining area or nook
- Primary bedroom
- Primary bath
- Secondary beds or office
- Yard, patio, or roof deck
- Staircase and period features
- Floor plan or layout shot, if available
Choose the hero shot
For narrow facades, a slightly elevated, straight-on photo that includes the stoop and sky helps the home feel substantial.
Camera, angles, and editing
- Hire a photographer familiar with historic homes who avoids unrealistic wide-angle distortion.
- Use bracketed exposures or HDR to balance bright windows and darker interiors, but keep colors natural to honor original finishes.
- For market insight on staging’s impact, see the National Association of Realtors’ Profile of Home Staging.
Twilight and video
- A twilight exterior can showcase outdoor lighting and ambiance, especially if a roof deck is a key feature.
- A short 60 to 90 second walkthrough video with slow pans of staircases and room transitions helps buyers grasp linear circulation.
Your 1–3 month staging checklist
Weeks 8–12
- Walk the property with your agent or stager to prioritize repairs and cosmetic updates.
- Book contractors for paint, minor plumbing or electrical fixes, and any safety-related stair or railing work.
- Decide on full, partial, or virtual staging.
- If you plan to upgrade many bulbs or fixtures, look into MassSave incentives.
Weeks 4–8
- Declutter and remove extra furniture. Consider short-term storage.
- Deep clean windows, carpets, vents, and grout. Schedule a chimney check if you plan to showcase a working fireplace.
- Neutralize bold wall colors and refresh trim and ceilings.
- Install the recommended LED bulbs and add lamps or sconces to create layers of light.
- Tighten hardware, caulk kitchens and baths, and complete touch-ups.
- Tidy the stoop and rear yard. Add planters and power wash brick where permitted.
- Stage the living room, kitchen, primary bedroom, and outdoor area first. Keep secondary rooms simple.
Weeks 1–2
- Schedule pro photos for a bright day. Consider a twilight exterior if outdoor spaces are a draw.
- Final clean and scent control. Use a light, neutral scent and remove pet odors.
- Create a one-page features sheet that highlights period details and recent updates.
- For Boston bulk removal needs, schedule pickup before showings using the City’s bulk item pickup guide.
Day of listing or open house
- Quick spot clean, open shades, and turn on all lights.
- Remove trash and personal items. Add simple props like fresh pillows or one small plant.
Hires and timing
- Stager: book 4 to 6 weeks before photos.
- Photographer: schedule after staging is complete.
- Painter, electrician, and handyman: book early so there is time for touch-ups.
Local logistics to plan for
Charlestown is a historic neighborhood. Permanent exterior changes often require approvals, so confirm plans with the City of Boston’s Landmarks Commission before doing facade work. Temporary staging items like furniture and planters typically do not need permission.
Coordinate trash and bulk removal ahead of time so nothing appears at the curb during showings. To set expectations about the area and housing mix, explore the Charlestown neighborhood profile. When hiring contractors, request proof of license and insurance, and lean on your stager or photographer for vetted vendor referrals.
What buyers ask and how to answer
- “How much storage is there?” Stage closets with space to spare and provide simple measurements or photos of organized storage.
- “Is the house light or dark?” Keep lights on during showings and note window orientations and lighting upgrades in your feature sheet.
- “How usable is the yard or roof deck?” Stage for a specific purpose and include multiple photo angles. If it is off-season, highlight nearby parks and community amenities in your materials.
- “Are the period features maintained?” Provide a clear list of preserved elements and recent sympathetic repairs along with system updates.
Ready to put this plan to work and present your home with clarity and confidence? Connect with Jonathan Heelen to map your staging timeline, dial in pricing, and launch a premium digital listing. Get a Free Home Valuation and a seamless, data-informed path to market.
FAQs
How should I light a narrow Charlestown rowhouse?
- Use sheers to spread daylight, then layer ambient, task, and accent lighting with warm LEDs. Add mirrors and low-sheen paint to bounce light without glare.
What LED color temperature works best for showings?
- Choose 2700–3000K for living spaces and 3000–3500K for kitchens, with CRI 90 or higher to make finishes read true.
Can I change my Charlestown facade before listing?
- Permanent exterior changes often require approval in historic areas. Check guidance from the City’s Landmarks Commission before you begin.
How do I stage a roof deck in winter?
- Use evergreen planters, warm string lights, and a compact bistro set with weatherproof textiles to suggest year-round usability.
What is the best order for listing photos?
- Start with the exterior hero, then entry, living room, kitchen, dining, primary bed and bath, secondary rooms, outdoor space, unique features, and a floor plan if available.
When should I book a stager and photographer?
- Book a stager 4 to 6 weeks before photos. Schedule photography after staging on a bright day, and consider a twilight exterior if outdoor space is a highlight.